
댓글 작성까지 구현하고 다른 것들을 만지다가 다시 댓글 수정, 삭제로 돌아왔다.
수정, 삭제 구현흐름 순서가 여러가지 방법이 생각났는데 일단 네이버 블로그를 참고해서 구현했다.
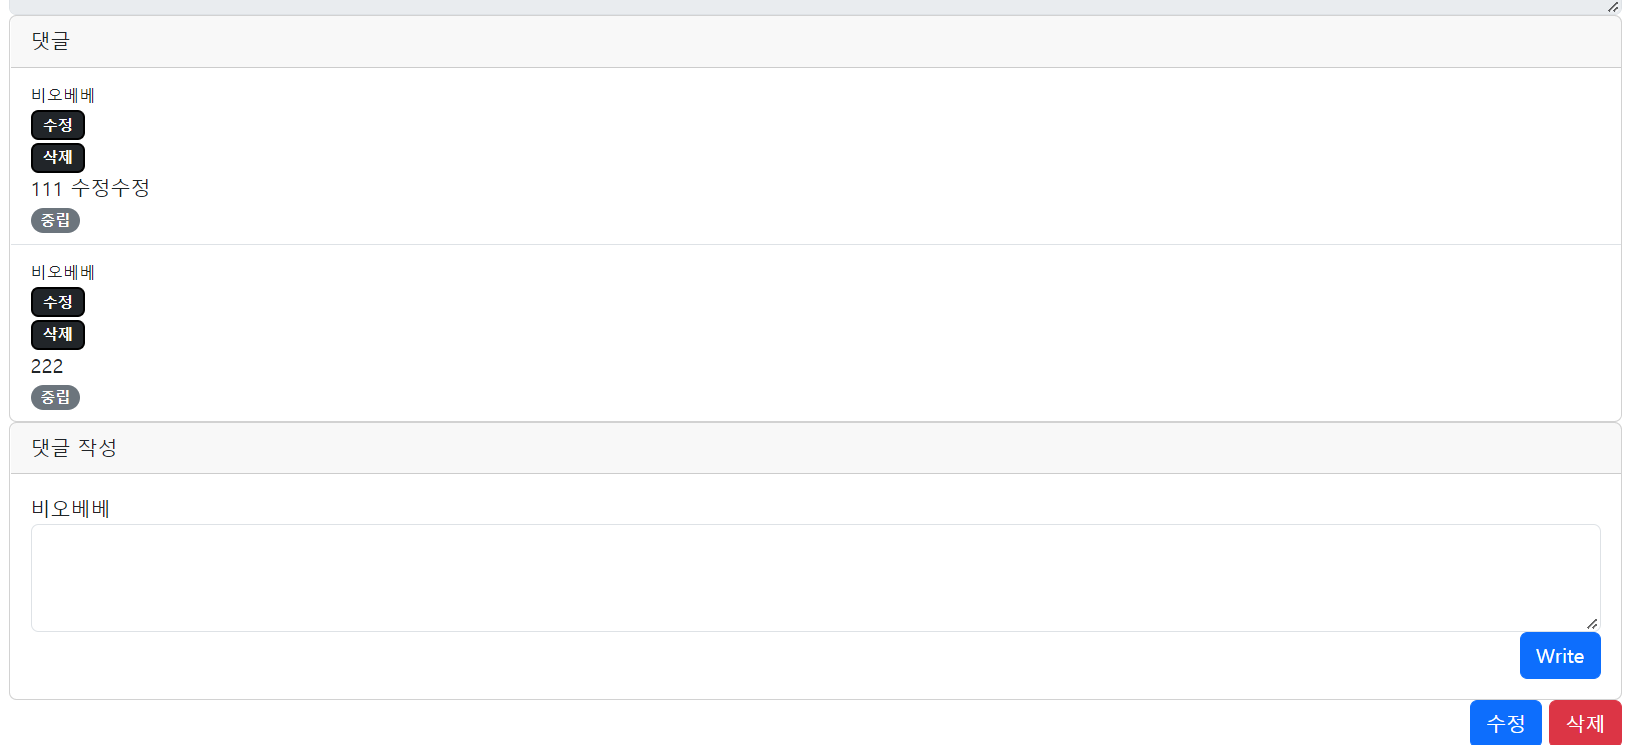
댓글 수정 예시
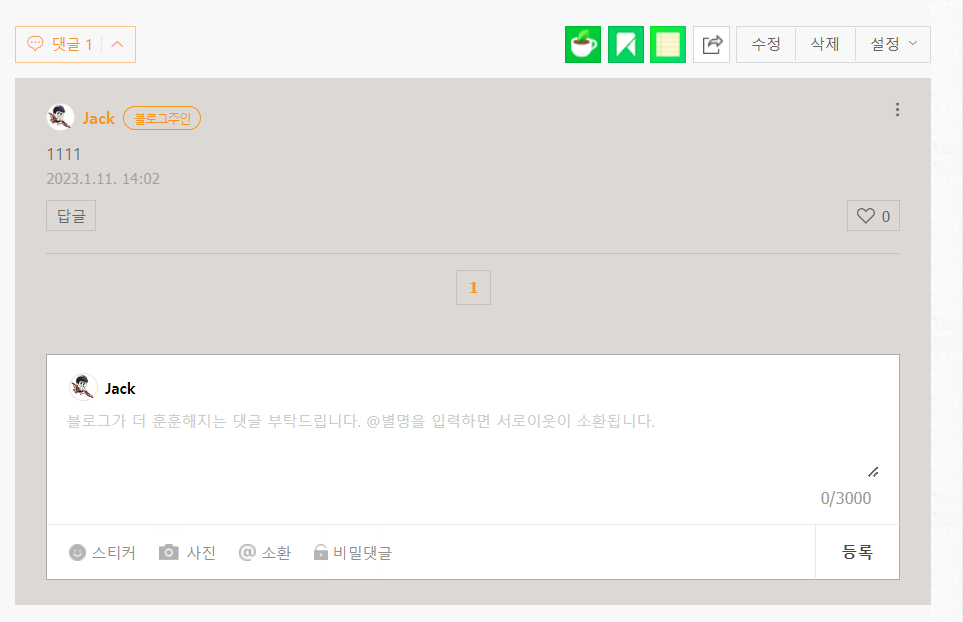
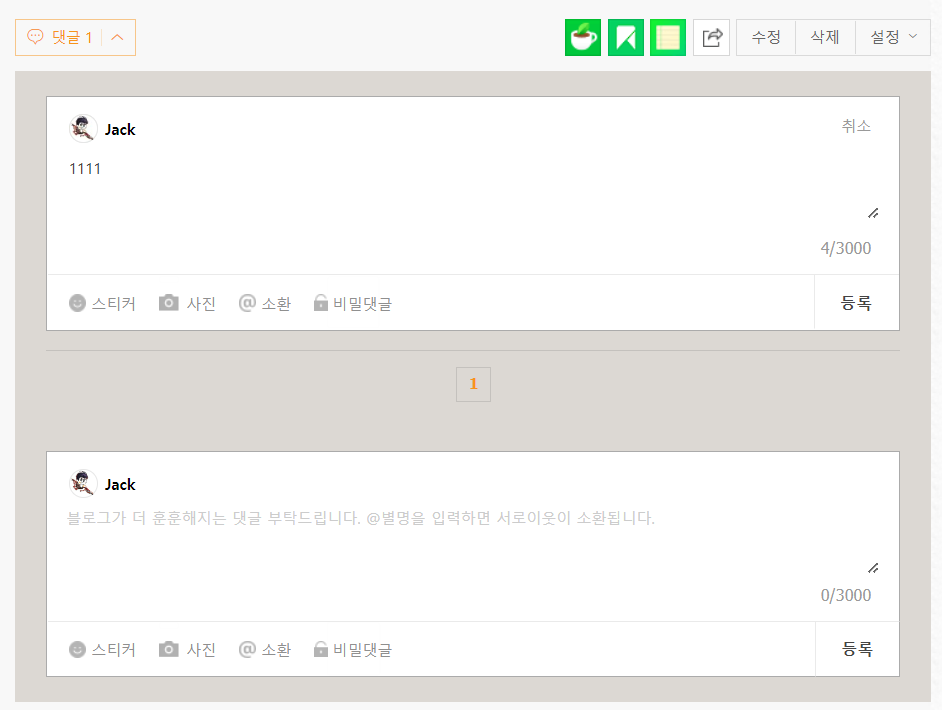
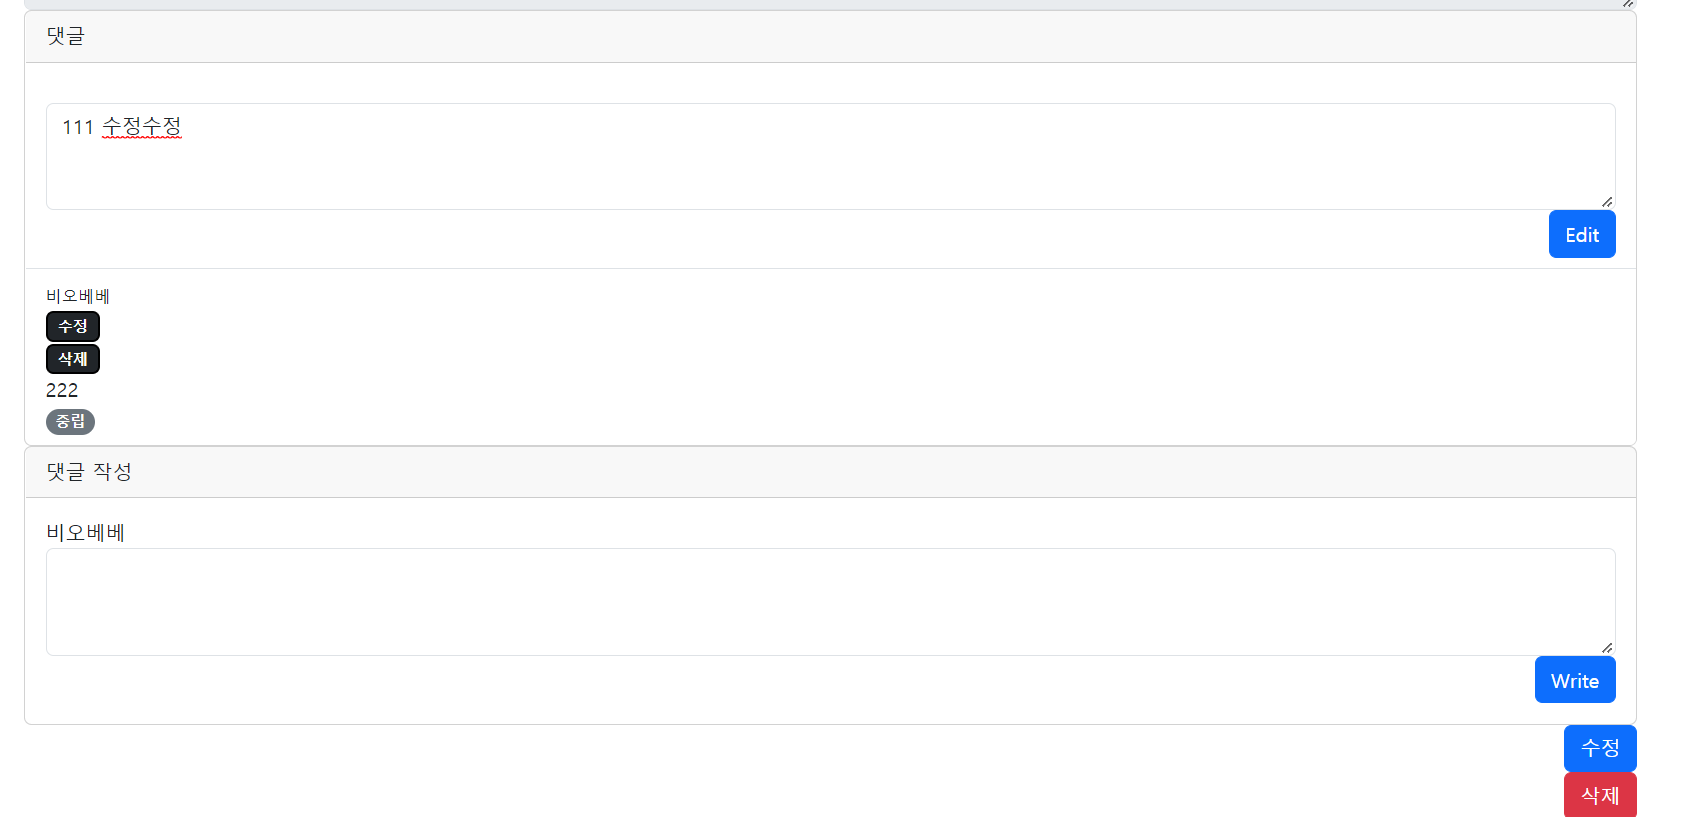
댓글 수정시 수정 폼은 기존 댓글 내용을 가져와야하고 작성폼과 달리 새로운 폼을 만들어주기로 했다.
큰 흐름은 댓글 수정 버튼 클릭시 수정 페이지로 이동하면 수정폼, 댓글들, 작성폼을 갖고 있고 수정폼에 작성시 해당 댓글 수정, 작성폼에 작성시 새로운 댓글 작성으로 넘어가도록 구현한다.
Comment Edit DTO
@Data
public class CommentEdit {
    private String content;
    private Emotion emotion;

    @Builder
    public CommentEdit(String content) {
        this.content = content;
    }

}댓글 내용만 받고 Emotion은 이후 네이버 API를 통해 받아준다.
Comment Service
@Service
@RequiredArgsConstructor
public class CommentService {
    private final CommentRepository commentRepository;
    private final PostRepository postRepository;
    private final UserRepository userRepository;
    private final TemplateCreate templateCreate;


    @Transactional
    public void edit(CommentEdit commentEdit, Long commentID)  {
        Emotion emotion = emotionDiscrimination(commentEdit.getContent());
        commentEdit.setEmotion(emotion);
        Comment comment = commentRepository.findById(commentID).orElseThrow();
        comment.edit(commentEdit);

    }
    private Emotion emotionDiscrimination(String content)  {
        EmotionDiscrimination emotionDiscrimination = new EmotionDiscrimination(content);
        Json template;
        try {
            template = templateCreate.createTemplate(emotionDiscrimination);
        } catch (JsonProcessingException e) {
            throw new RuntimeException(e);
        }
        return Emotion.of(template.toString());
    }
    @Transactional
    public void delete(Long commentId){
        Comment comment = commentRepository.findById(commentId).orElseThrow();
        commentRepository.delete(comment);
    }
}서비스에서 댓글 수정 시에는 댓글 감정분석API을 재진행한다.
수정시에 @Transactional이 영속중인 Comment Entity의 content, emotion을 변경 감지(dirty checking)을 통해 저장한다.
삭제시에 없을 경우를 생각해 조회 후에 삭제한다.
Comment Controller
@Controller
@RequiredArgsConstructor
public class CommentController {
    private final CommentService commentService;
    private final PostService postService;


    @GetMapping("/posts/{postId}/comments/{commentId}")// 수정 폼 불러오기
    public String editForm(@PathVariable Long postId, @PathVariable Long commentId, Model model,
                           @AuthenticationPrincipal CustomUserDetails userDetails) {
        PostResponse postResponse = postService.get(postId);
        List<CommentResponse> comments = postResponse.getCommentResponses();
        if (!comments.isEmpty()) {
            model.addAttribute("comments", comments);
        }
        if (userDetails != null) {
            model.addAttribute("nickname", userDetails.getNickname());
        }
        model.addAttribute("post", postResponse);
        model.addAttribute("editCommentId", commentId);
        return "post/postCommentEdit";
    }

    @PutMapping("/posts/{postId}/comments/{commentId}") // 수정
    public String edit(CommentEdit commentEdit, @PathVariable Long commentId, @PathVariable Long postId){
        commentService.edit(commentEdit, commentId);
        return "redirect:/posts/read/{postId}";
    }


    @DeleteMapping("/posts/{postId}/comments/{commentId}") // 삭제
    public String delete(@PathVariable Long postId, @PathVariable Long commentId){
        commentService.delete(commentId);
        return "redirect:/posts/read/{postId}";
    }
}댓글 작성, 삭제, 수정을 POST, GET으로만 처리하려고 하다가 Thymeleaf Form내에서 PUT, DELETE 형식으로 바꿔줄 수 있어 자원에 대한 행위를 Http Method로 나타냈다.
Thymeleaf GET, DELETE 외 HTTP Method 설정
아래는 타임리프에서 GET, POST 외에 메서드를 쓰기 위한 설정이다.
HiddenHttpMethodFilter를 빈 등록해주면 Thymeleaf 에서 th:method로 HTTP 메서드를 지정해줄 수 있다.
@Configuration
public class SpringConfig {
    @Bean
    public HiddenHttpMethodFilter httpMethodFilter() {
        HiddenHttpMethodFilter hiddenHttpMethodFilter = new HiddenHttpMethodFilter();
        return hiddenHttpMethodFilter;
    }
}Thymeleaf View
<div th:if="${#authentication.name}==${comment.username}">
<form th:action="@{|/posts/${post.id}/comments/${comment.id}|}" th:method="get">
<button class="badge text-bg-dark">수정</button>
</form>
<form th:action="@{|/posts/${post.id}/comments/${comment.id}|}" th:method="delete">
<button class="badge text-bg-dark" >삭제</button>
</form>
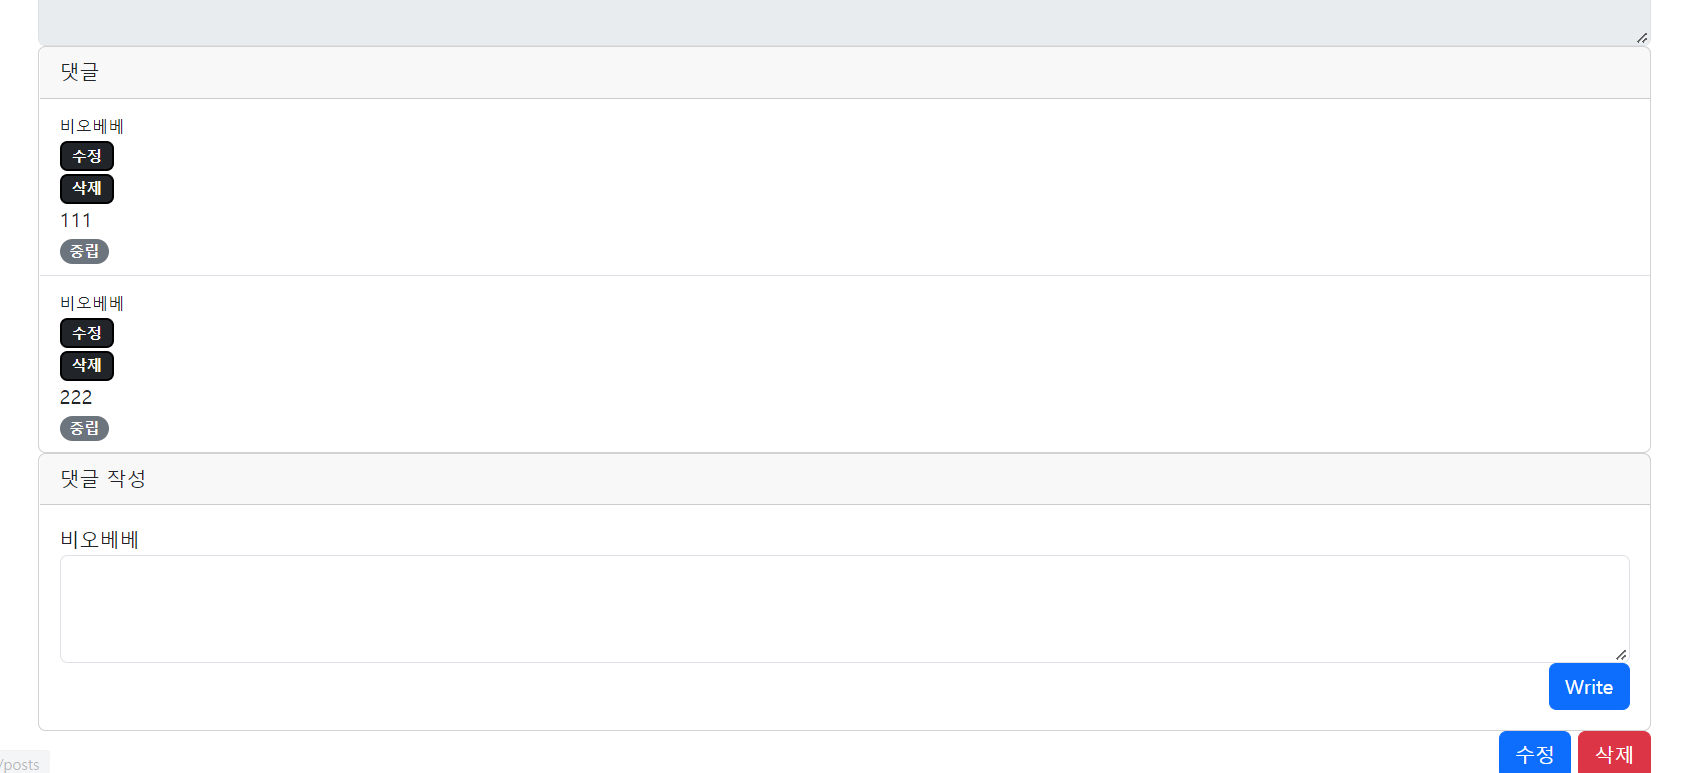
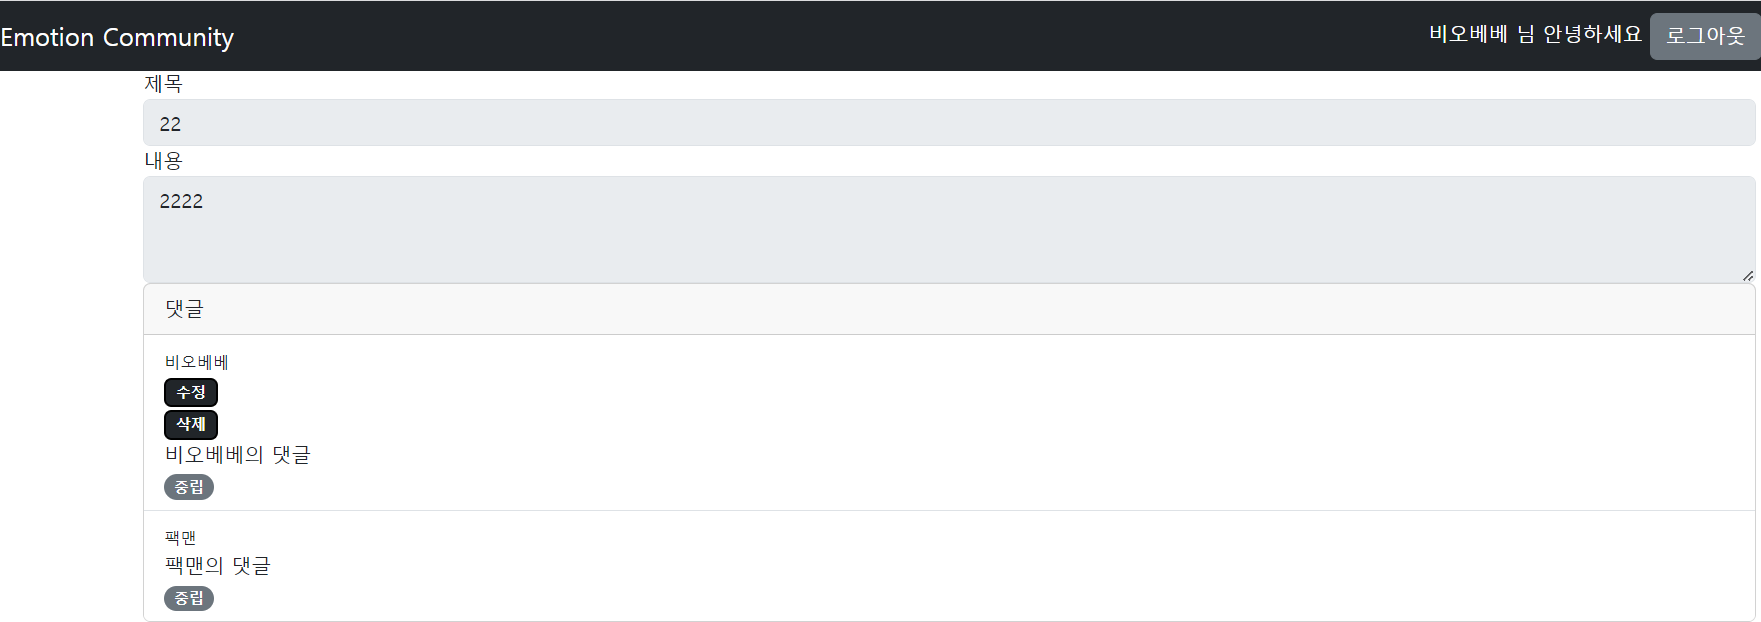
</div>로그인 시에 현재 세션이 들고있는 Username과 Comment 작성자를 비교해서 같을 때만 수정, 삭제버튼이 활성화된다.
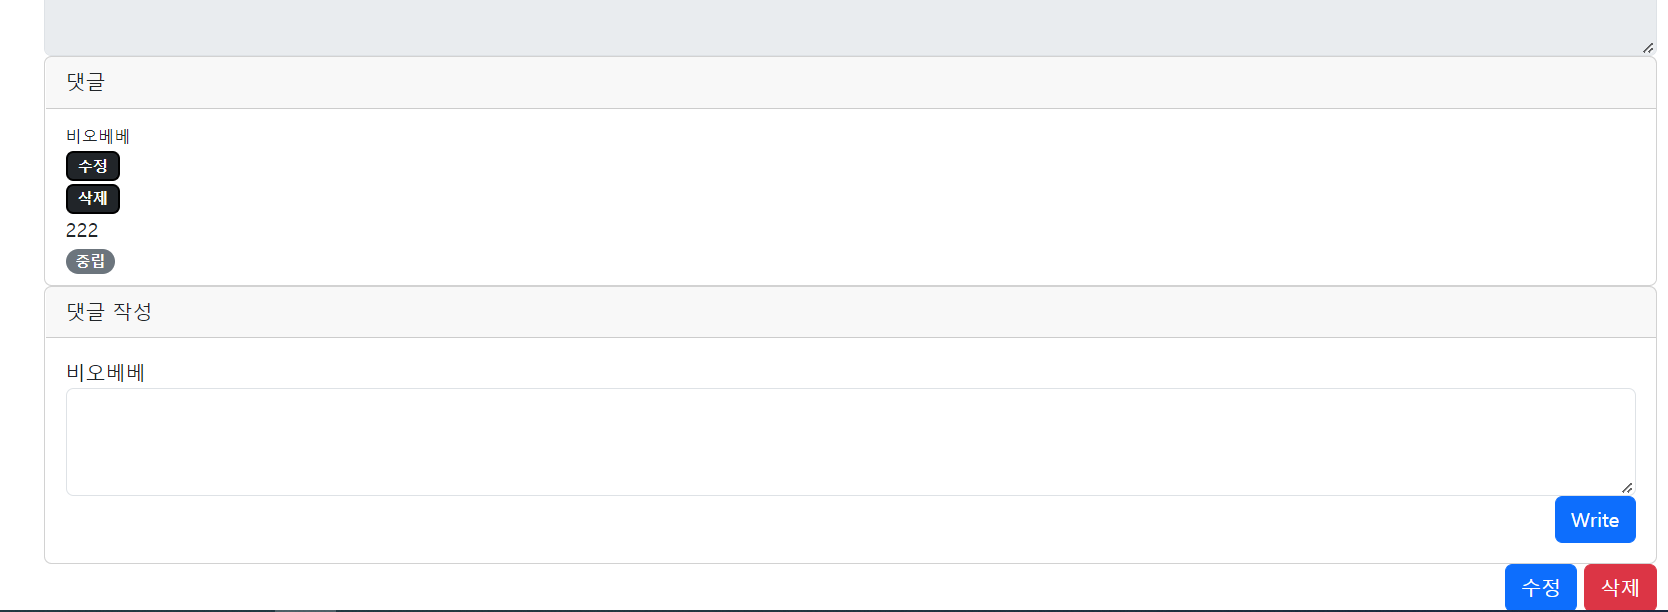
결과
개선
댓글 작성, 삭제, 수정 시 마다 전체가 새로고침되고 댓글 수정 폼을 불러오는 컨트롤러 코드와 글 상세보기를 불러오는 컨트롤러 코드가 주소만 다르고 코드가 거의 일치하기도 해서 URI를 다듬고 댓글관리를 비동기로 바꿀 예정이다.
게시글 상세보기
@GetMapping("/posts/read/{postId}")
public String get(@PathVariable Long postId, Model model, @AuthenticationPrincipal CustomUserDetails userDetails) {
    if(userDetails != null){
        PostResponse postResponse = postService.getWithEmotion(postId, userDetails.getEmotion());
        if(postResponse.getCommentResponses()!= null){
            model.addAttribute("comments", postResponse.getCommentResponses());
        }
        model.addAttribute("nickname", userDetails.getNickname());
        model.addAttribute("emotion", userDetails.getEmotion());
        model.addAttribute("post",postResponse);
    }
    if(userDetails == null){
        PostResponse postResponse = postService.get(postId);
        if(postResponse.getCommentResponses()!=null){
            model.addAttribute("comments", postResponse.getCommentResponses());
        }
        model.addAttribute("post",postResponse);
    }
    return "post/postView";
}댓글 수정 폼
@GetMapping("/posts/{postId}/comments/{commentId}")
public String editForm(@PathVariable Long postId, @PathVariable Long commentId, Model model,
                       @AuthenticationPrincipal CustomUserDetails userDetails) {
    if(userDetails != null){
        PostResponse postResponse = postService.getWithEmotion(postId, userDetails.getEmotion());
        if(postResponse.getCommentResponses()!= null){
            model.addAttribute("comments", postResponse.getCommentResponses());
        }
        model.addAttribute("nickname", userDetails.getNickname());
        model.addAttribute("emotion", userDetails.getEmotion());
        model.addAttribute("post",postResponse);
    }
    if(userDetails == null){
        PostResponse postResponse = postService.get(postId);
        if(postResponse.getCommentResponses()!=null){
            model.addAttribute("comments", postResponse.getCommentResponses());
        }
        model.addAttribute("post",postResponse);
    }
    model.addAttribute("editCommentId", commentId);
    return "post/postCommentEdit";
}현재 댓글 작성은 Thymeleaf + Jquery(+ajax)로 구현해봤는데 아직 공부가 더 필요한 것 같다.
일단 댓글 감정 필터까지 구현하고 비동기 처리를 구현해야할 것 같다.