
https://anythingis.tistory.com/82
지난 댓글 작성 포스트
[Spring Boot JPA 커뮤니티] 댓글 작성, 네이버 감정분석 API 활용
기존 CRUD 게시판에 댓글 작성 시 감정 분석 API를 사용해 긍정, 중립, 부정으로 댓글 태그를 관리해 사용자가 원하는 댓글만 필터링하기 위해 댓글 작성 서비스에 네이버 API 적용 및 댓글 작성 및
anythingis.tistory.com
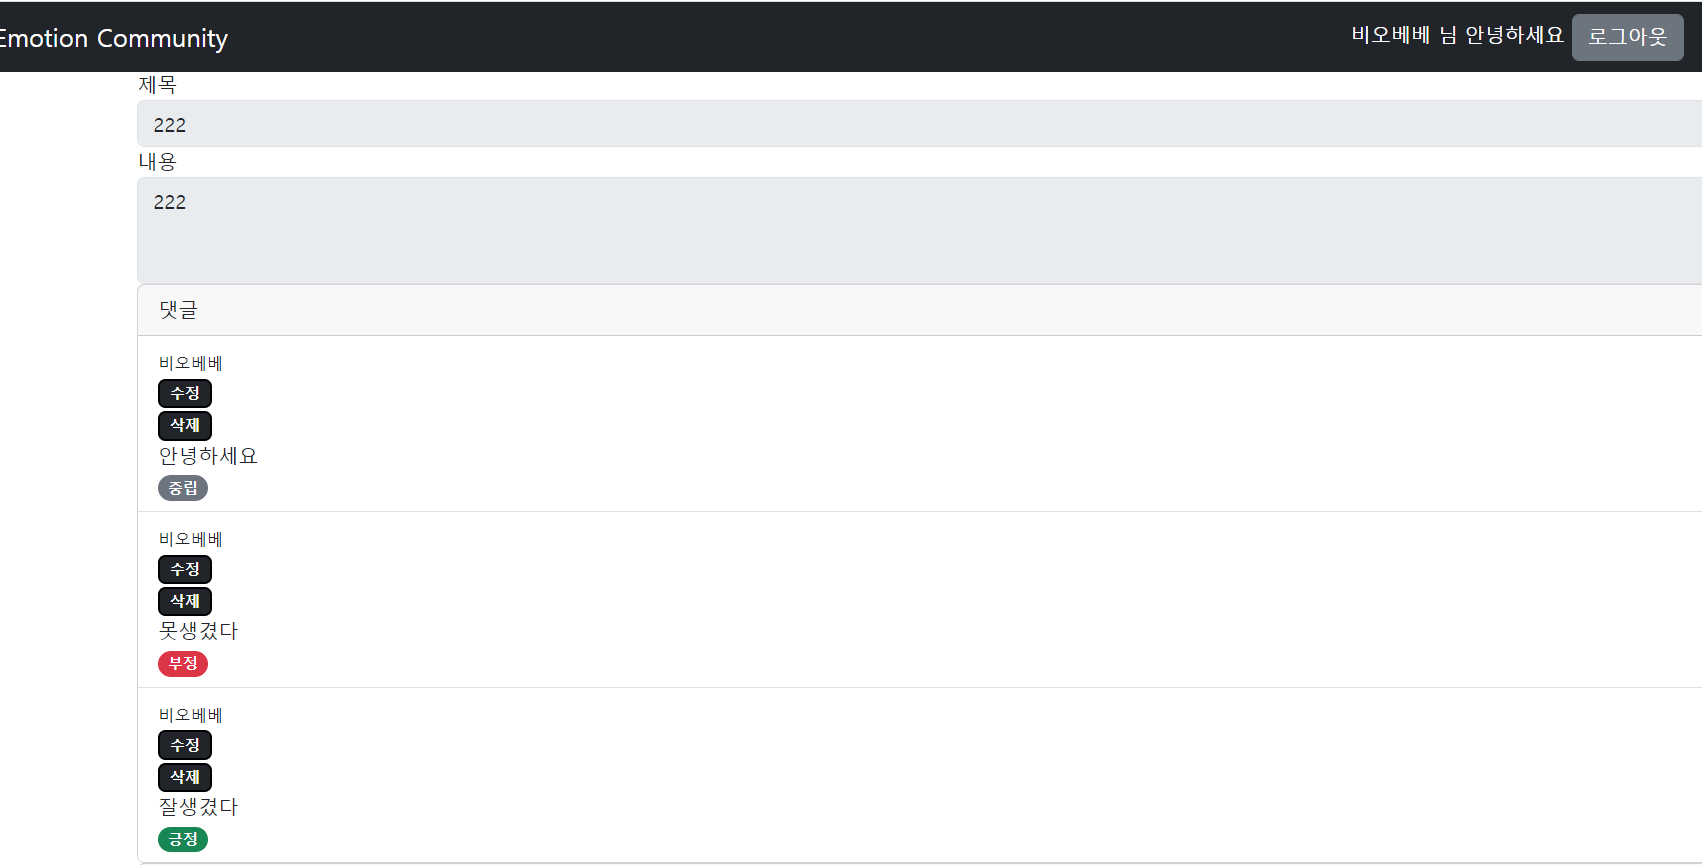
댓글 작성 시에 네이버 감정분석 API를 사용해 댓글마다의 감정을 갖고 있는데 사용자가 보고 싶은 감정까지만 보기 위한 기능을 추가할 예정이다.
User Entity
@Entity
@Getter
@NoArgsConstructor
public class User extends TimeEntity {
    @Id
    @GeneratedValue(strategy = GenerationType.IDENTITY)
    private Long id;
    @Column(unique = true, nullable = false)
    private String username;
    @Column(nullable = false)
    private String nickname;

    @Column(nullable = false)
    private String email;
    @Column(nullable = false, length = 100)
    private String password;

    @Enumerated(EnumType.STRING)
    private Roles role;
    @Enumerated(EnumType.STRING)
    private Emotion emotion; // 댓글 감정 필터를 위한 필드(칼럼) 추가
    @OneToMany(mappedBy = "user")
    private List<Post> posts = new ArrayList<>();
    @OneToMany(mappedBy = "user")
    private List<Comment> comments = new ArrayList<>();

    @Builder
    public User(String username, String nickname, String email, String password, Roles role, Emotion emotion) {
        this.username = username;
        this.nickname = nickname;
        this.email = email;
        this.password = password;
        this.role = role;
        this.emotion = emotion;

    }

    public void addComment(Comment comment) {
        comment.setUser(this);
        comments.add(comment);
    }
}User에 Emotion을 추가해준다.
Emotion Class
@Getter
@RequiredArgsConstructor
public enum Emotion {
    POSITIVE("positive"),
    NEUTRAL("neutral"),
    NEGATIVE("negative");

    private final String emotion;

    public static Emotion of(String sentiment){
        for(Emotion temp : Emotion.values()){
            if(sentiment.equals(temp.emotion))return temp;
        }
        throw new RuntimeException();
    }
}CustomUserDetail
@RequiredArgsConstructor
public class CustomUserDetails implements UserDetails {
    private final User user;


    @Override
    public Collection<? extends GrantedAuthority> getAuthorities() {
        String[] arr = new String[]{user.getRole().getAuth()};
        Collection<GrantedAuthority> collectors = AuthorityUtils.createAuthorityList(arr);
        //collectors.add(() -> user.getRole().getAuth());

        return collectors;
    }

    @Override
    public String getPassword() {
        return user.getPassword();
    }

    @Override
    public String getUsername() {
        return user.getUsername();
    }

    public String getNickname() {
        return user.getNickname();
    }

    public Emotion getEmotion() { // 세션에서 emotion 접근을 위한 getter
        return user.getEmotion();
    }

    public String getEmail() {
        return user.getEmail();
    }

    @Override
    public boolean isAccountNonExpired() {
        return true;
    }

    @Override
    public boolean isAccountNonLocked() {
        return true;
    }

    @Override
    public boolean isCredentialsNonExpired() {
        return true;
    }

    @Override
    public boolean isEnabled() {
        return true;
    }
}Controller에서 @AuthenticationPrincipal로 접근해서 Emotion을 가져오기 위해 getter 추가
Post Service
@Service
@RequiredArgsConstructor
public class PostService {
    private final PostRepository postRepository;
    private final UserRepository userRepository;

    public PostResponse get(Long id) { // 미 로그인 시
        Post post = postRepository.findById(id).orElseThrow(PostNotFound::new);
        return new PostResponse(post);
    }

    public PostResponse getWithEmotion(Long id, Emotion emotion) { // 로그인 시
        Post post = postRepository.findById(id).orElseThrow(PostNotFound::new);
        PostResponse postResponse = new PostResponse(post);
        if (emotion.equals(POSITIVE)) {
            postResponse.getCommentResponses().removeIf(comment -> !comment.getEmotion().equals(POSITIVE));

        }
        if (emotion.equals(NEUTRAL)) {
            postResponse.getCommentResponses().removeIf(comment -> comment.getEmotion().equals(NEGATIVE));
        }
        return postResponse;
    }
}미 로그인 시에는 모든 댓글을 필터링 없이 가져오고,
로그인 시에는 세션에 접근해 사용자의 Emotion에 따라 댓글을 필터링 해서 게시글 상세보기로 넘겨준다.
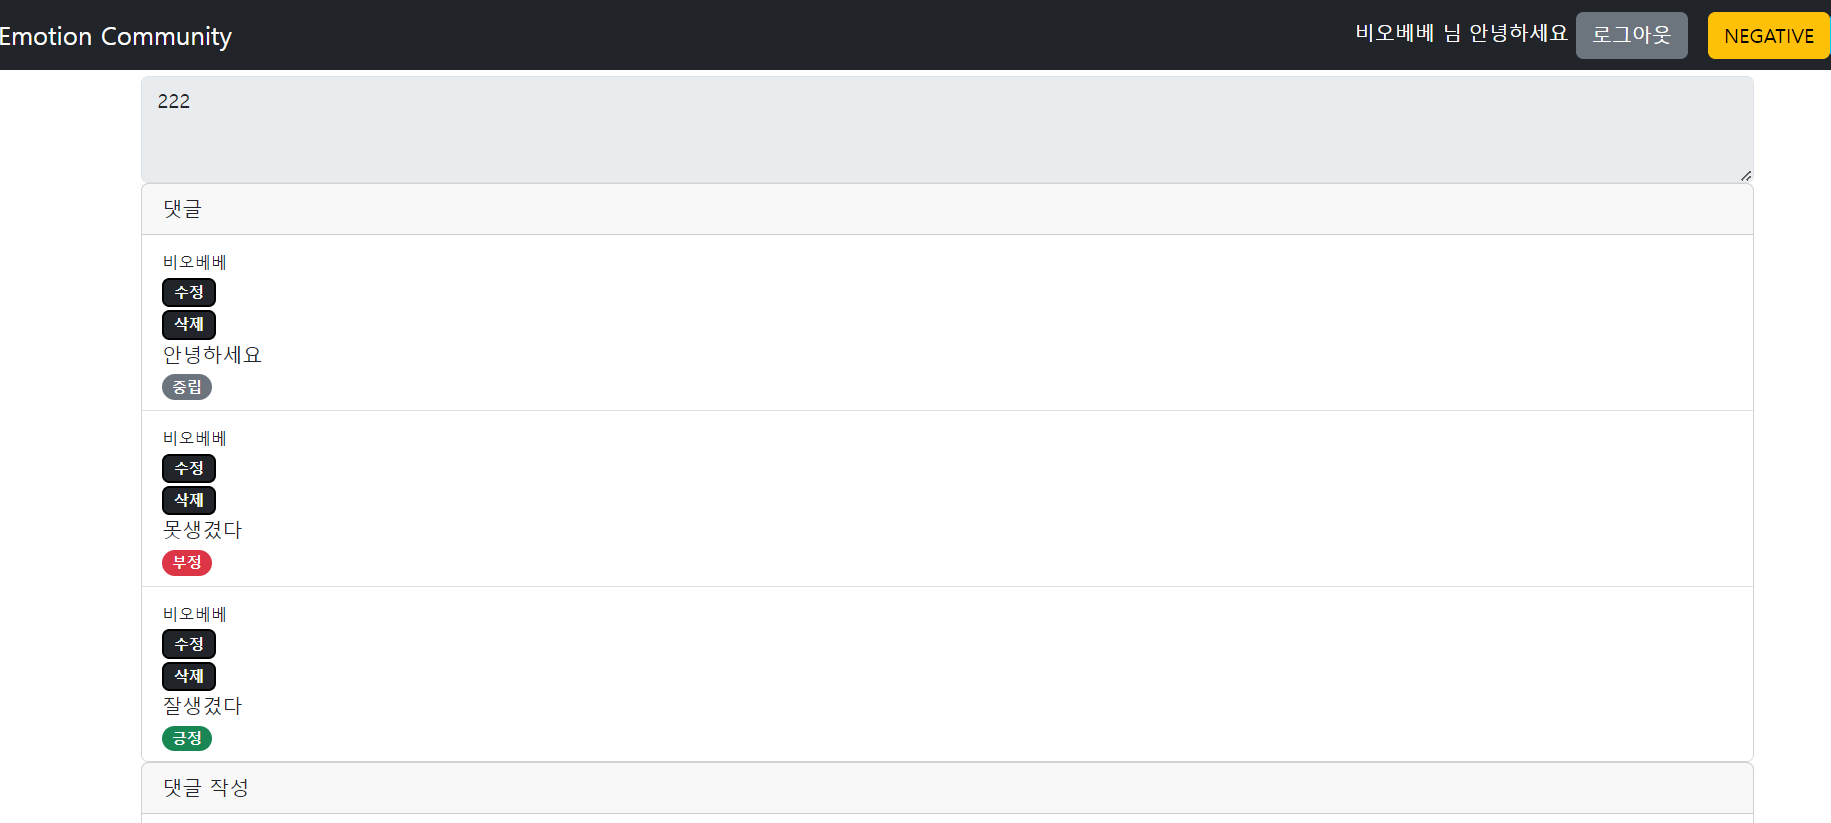
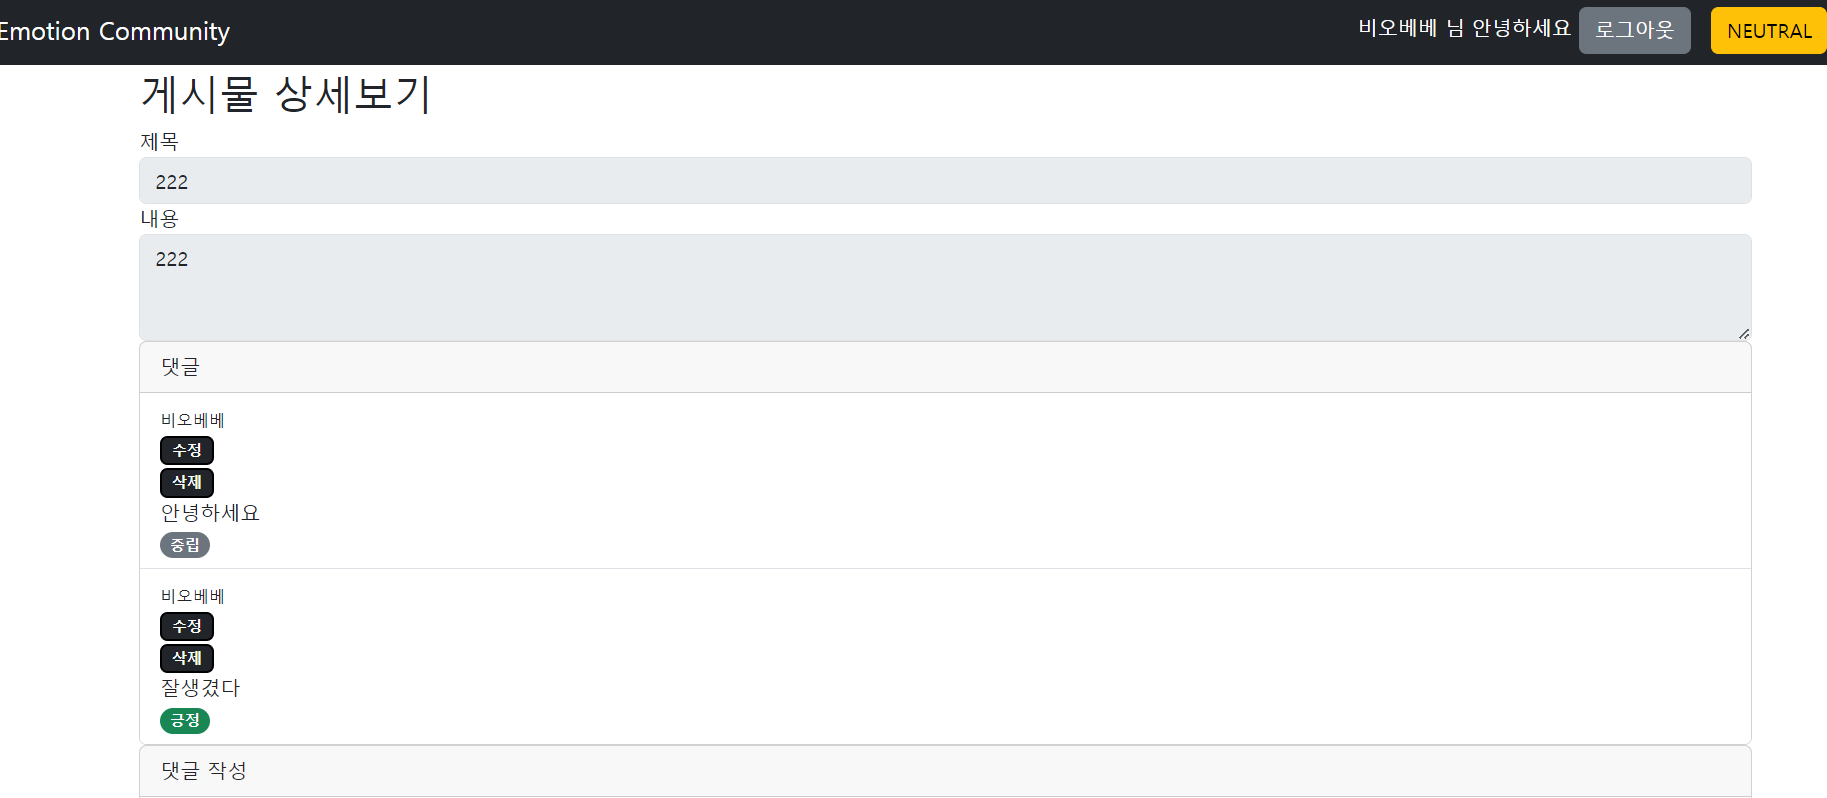
사용자의 감정이 '긍정'일 때는 긍정 외에 모든 댓글을 삭제,
사용자의 감정이 '중립'일 때는 부정의 모든 댓글을 삭제,
사용자의 감정이 '부정'일 때는 모든 댓글을 보여준다.
Java JDK 8의 ArrayList.removeIf()메소드를 사용해 commentList를 관리했다.
Post Controller
@Controller
@RequiredArgsConstructor
public class PostController {
    private final PostService postService;

    @GetMapping("/posts/read/{postId}")
    public String get(@PathVariable Long postId, Model model, @AuthenticationPrincipal CustomUserDetails userDetails) {
        if (userDetails != null) { // 로그인 시
            PostResponse postResponse = postService.getWithEmotion(postId, userDetails.getEmotion());
            if (postResponse.getCommentResponses() != null) {
                model.addAttribute("comments", postResponse.getCommentResponses());
            }
            existsSession(model, userDetails);
            model.addAttribute("post", postResponse);
        }
        if (userDetails == null) { // 미 로그인 시
            PostResponse postResponse = postService.get(postId);
            if (postResponse.getCommentResponses() != null) {
                model.addAttribute("comments", postResponse.getCommentResponses());
            }
            model.addAttribute("post", postResponse);
        }
        model.addAttribute("commentCreate", new CommentCreate());
        return "post/postView";
    }
    private void existsSession(Model model, CustomUserDetails user) {
        model.addAttribute("nickname", user.getNickname());
        model.addAttribute("emotion", user.getEmotion());
    }
}세션의 유무에 따라서 서비스에서 사용하는 메서드를 다르게 적용했다.
@AuthenticationPrincipal에서 얻은 Emotion을 서비스로 넘겨 해당 하는 감정에 맞는 댓글 리스트를 가진 모델을 만든다.
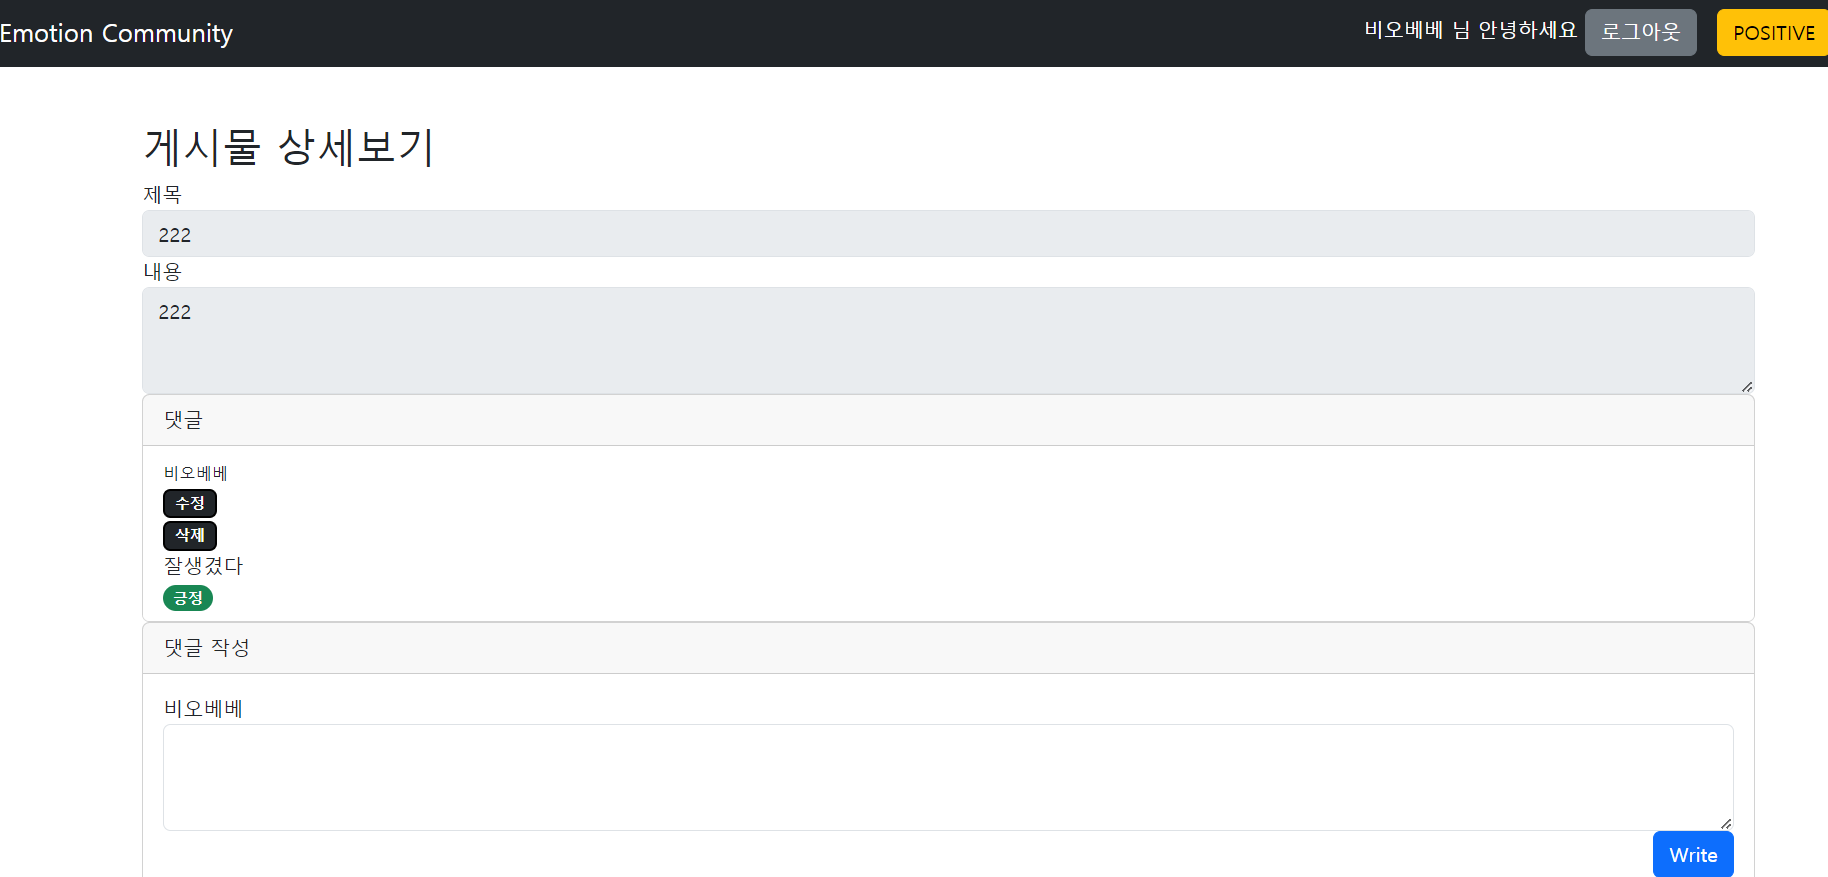
화면 상단 헤더에 현재 사용자의 닉네임과, 감정상태를 표기해주기 위해 모델에 추가해준다.
상단 헤더 Thymeleaf View
<body class="d-flex flex-column h-100">
<nav class="navbar navbar-expand-md navbar-dark fixed-top bg-dark "th:fragment="menu">
    <div class="collapse navbar-collapse">
    <a class="navbar-brand" th:href="@{/posts}">Emotion Community</a>
    </div>

    <a class="btn btn-secondary my-2 my-sm-0" th:href="@{/account/login}"
       sec:authorize="!isAuthenticated()">로그인</a>
    <a class="btn btn-secondary my-2 my-sm-0" th:href="@{/account/signup}"
       sec:authorize="!isAuthenticated()">회원가입</a>
    <form class="form-check-inline my-2 my-lg-0" sec:authorize="isAuthenticated()"
          th:action="@{/logout}" method="post">
        <sapn class="text-white" th:text="${nickname}">사용자</sapn> // 사용자 닉네임
        <sapn class="text-white">님 안녕하세요</sapn>

        <button class="btn btn-secondary my-2 my-sm-0" type="submit">로그아웃</button>
    </form>
    <button class="btn btn-warning" th:text="${emotion}" sec:authorize="isAuthenticated()"></button> // 사용자 Emotion


</nav>
</body>
결과
개선
네이버 감정분석 API가 속도가 빠르긴한데 한글만 인식이 가능해서 그 외에 문자가 들어가면 감정이 중립으로 판정이 된다. 또 문장이 많아지면 감정분석 지수가 내려가 현재는 댓글에만 감정분석을 진행했는데 이후에 다른 언어와 게시글에도 적용할만한 API를 찾아봐야할 것 같다.
참고
https://api.ncloud-docs.com/docs/ai-naver-clovasentiment-api
감정분석
api.ncloud-docs.com